immortalje: Typwriter with hands typing ([stock] footseps in snow)
[personal profile] immortalje
Here are some tips and tricks I've come across, figured out or otherwise learned in the all the times I've been doing icons, the occasional larger graphics and photography. I've taken notes for at least two more posts: One with general stuff about editing an image in general and what tools I know about and another with different techniques I use to brighten an image. They need some more editing and probably some sample images...

A note about the images used in this post as examples:
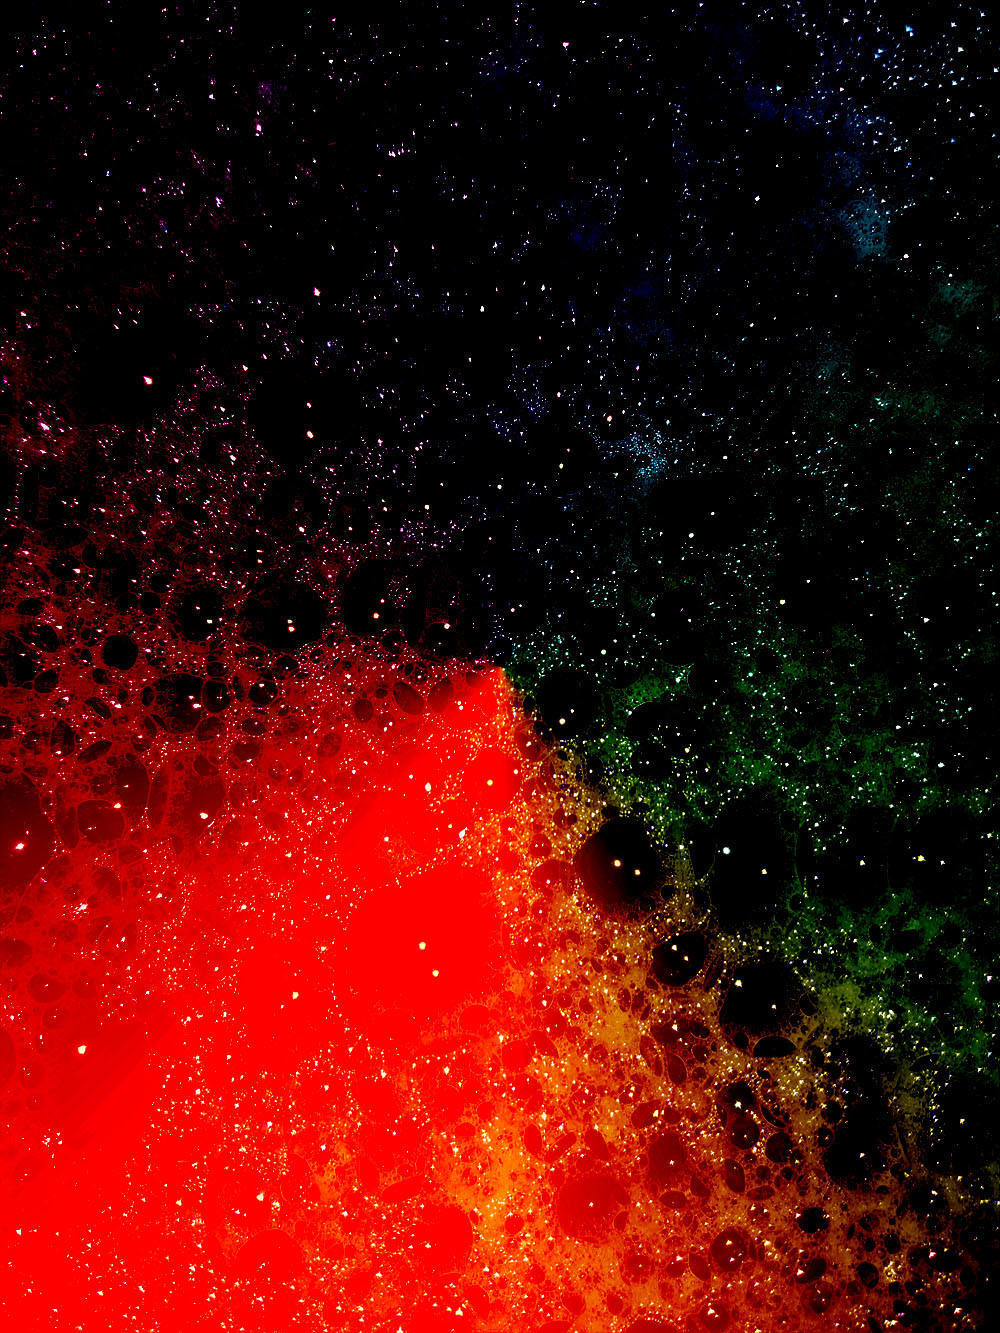
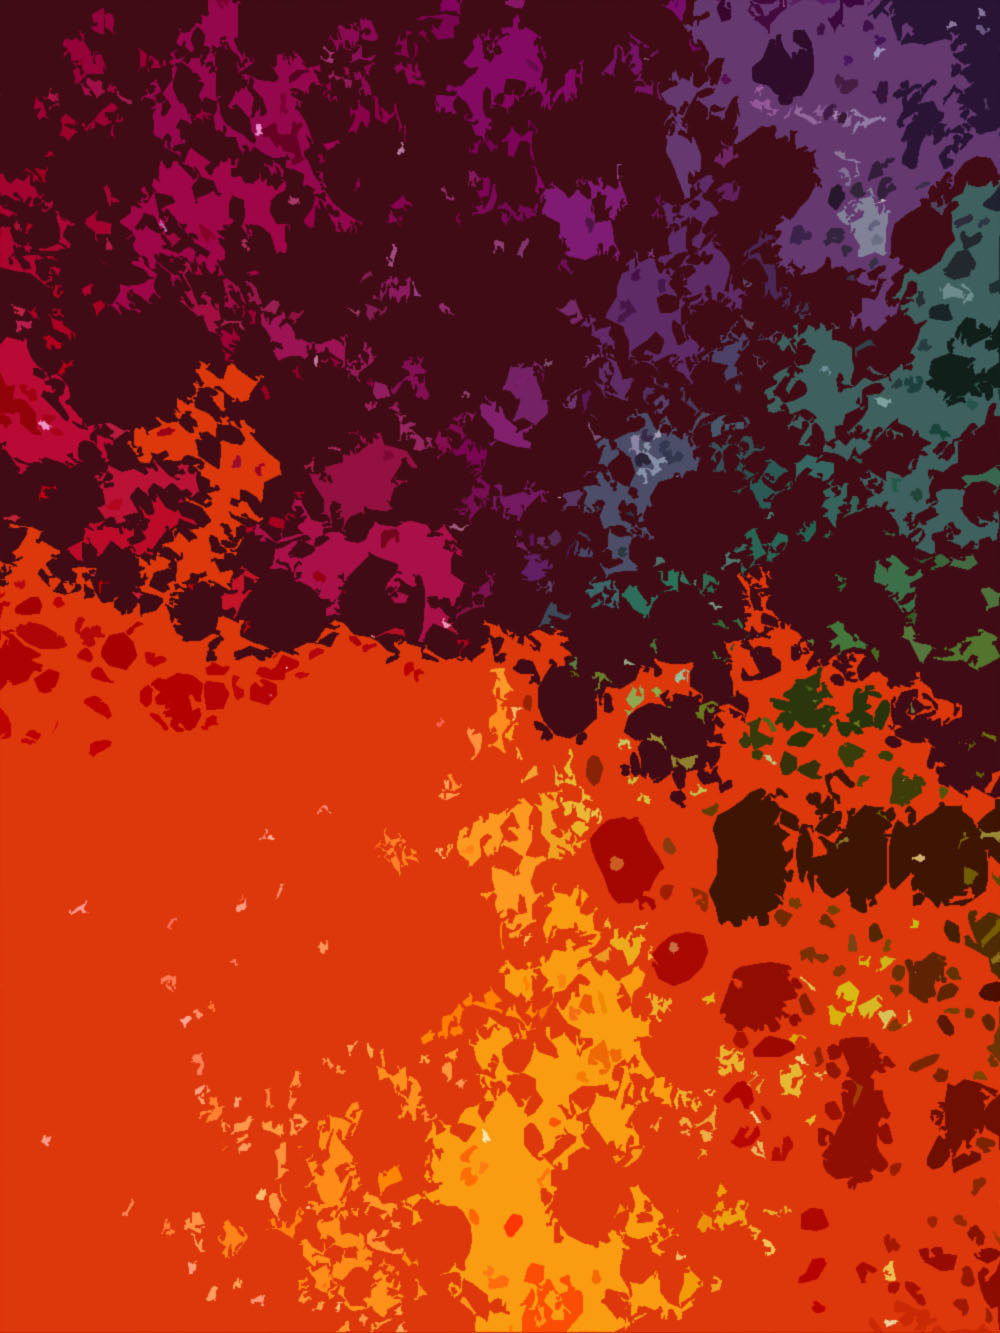
All photographs were taken by me and are unedited outside of resizing (and adding some lines). All icons were made by me and while I adore some, I'm not as happy with others. Some are probably over a decade old. I'm unashamed to use them as examples.

click here for the tricks and tips )

I might or might not read this again tomorrow or in a couple of days and edit some wording. I've been procrastinating on this one since mid-January and just need to get it out.

I hope this was helpful to someone :)
immortalje: Mateo Chavey coming out of a hole in a brick wall smiling while snow is falling ([911ls] mateo)
[personal profile] immortalje
As requested by [personal profile] impala_chick in my Ask a Maker post, here's a tutorial for how I made a two-toned Mateo Chavez icon:

Going from base icon to final icon.

Let's start with a bit of background information: This icon was made for [community profile] dailyicons using the prompt "Two Toned". So, I knew from the get go that the result wouldn't contain any "regular" colouring. However, I still like to treat making icons - whether they are black & white, monochrome or two toned or whatever other limited colour scheme might be out there - like I would any other icon. At least most of the time. Courtesy of experience, I feel the most comfortable judging sharpness, brightness and contrast that way.

This was made using Photoshop CS5 and, unless noted otherwise, layers are set to normal and 100% opacity. I used this website to translate the German terminology of Photoshop to English.

Click here for the steps )

I hope the tutorial isn't all over the place. Mentally, I've been a bit all over the place today and that can lead to a mix of run-on sentences and sudden change in topic.
immortalje: TK winking with his eyes rather smugly ([911ls] tk : smug)
[personal profile] immortalje
While creating the base image for another icon texture set, I fell in love with the effect I created. Today, a couple of days later, I finally got around to cropping some icon textures from it and I fell in love all over again. This time, I couldn't resist the urge to create a tutorial. Right then and there, pausing my session of cropping down textures I had created in the past week or so (and some that had been waiting for ages). Either way, here's the tutorial I just had to make.

click here for a preface and some information about the source image )

From source image of bubbles to bubbles3 and bubbles3a

click here for the tutorial )

Profile

love_sacrificed: (Default)
Sacrificed Love

February 2025

M T W T F S S
     12
3456789
10111213141516
17181920212223
24252627 28  

Style Credit

Expand Cut Tags

No cut tags

Syndicate

RSS Atom
Page generated 27 July 2025 05:38 am
Powered by Dreamwidth Studios